Are you trying to find a delicious, healthy, and simple-to-make snack? No-bake granola bars are the only thing you need! Whether you’re looking for a satisfying post-workout snack or a quick energy boost in between meetings, these delicious treats are ideal for anyone on the go. This post will discuss the benefits of making your own no-bake granola bars and provide a basic recipe that you can alter to your own taste. Now let’s get started!
The Appeal of No-Bake Granola Bars
No-bake granola bars have surged in popularity in recent years, and it’s easy to see why. Unlike traditional granola bars that require baking, these no-bake versions offer convenience without sacrificing taste or nutrition. With just a few simple ingredients, you can whip up a batch of delicious granola bars in no time, saving both time and energy in the kitchen.
Ingredients You’ll Need
To make your own no-bake granola bars, you’ll need the following ingredients
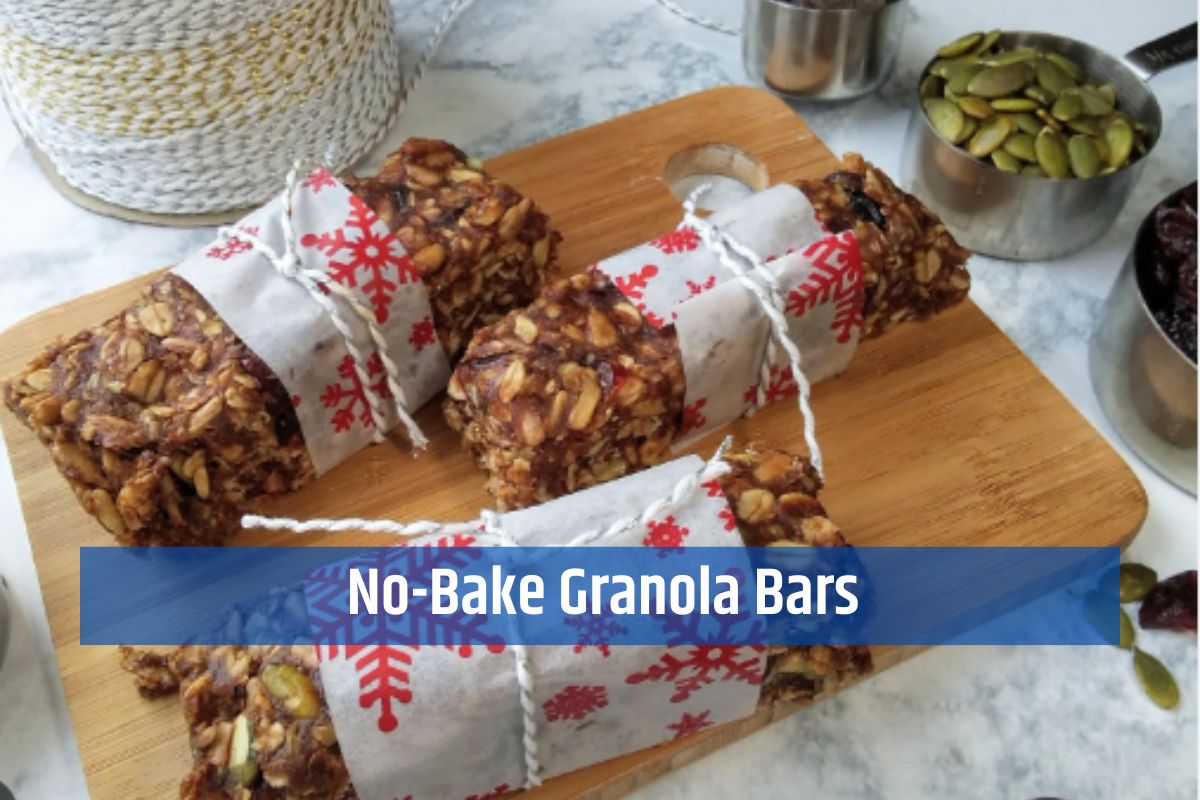
Rolled oats, Honey or maple syrup (for sweetness and binding),Nut butter (such as almond or peanut butter)Nuts and seeds (such as almonds, cashews, pumpkin seeds, or sunflower seeds),Dried fruit (such as raisins, cranberries, or chopped apricots),Optional add-ins (such as chocolate chips, coconut flakes, or chia seeds)
Instructions
- In a large mixing bowl, combine the rolled oats, nuts, seeds, and dried fruit. Mix well to ensure even distribution of ingredients.
- In a small saucepan, heat the honey or maple syrup over low heat until it becomes runny and easier to mix.
- Add the nut butter to the warm honey or maple syrup, stirring until smooth and well combined.
- Pour the honey or maple syrup mixture over the dry ingredients in the mixing bowl. Use a spatula or wooden spoon to mix everything together until evenly coated.
- Line a baking dish or tray with parchment paper, then transfer the granola mixture into the dish.
- Use your hands or a spatula to press the mixture firmly into the dish, ensuring it’s evenly spread and compacted.
- If desired, sprinkle additional toppings such as chocolate chips or coconut flakes over the top of the mixture and press them gently into the surface.
- Place the baking dish in the refrigerator for at least 2 hours, or until the granola bars have hardened and set.
- Once set, remove the granola bars from the refrigerator and use a sharp knife to cut them into individual bars or squares.
- Serve and enjoy! These homemade no-bake granola bars are perfect for snacking on the go or enjoying as a quick and healthy treat any time of day.
Conclusion
To sum up, no-bake granola bars are a tasty and nutritious snack choice that packs flavor and nutrition into a single, mouthwatering serving. Your own personalized granola bars are easy to make and a great way to fuel your busy lifestyle and sate your hunger with just a few basic ingredients and simple steps. Try them out now and experience the delight of homemade goodness!